Digicam Photos Change With Daylight, Flash, and Low Light
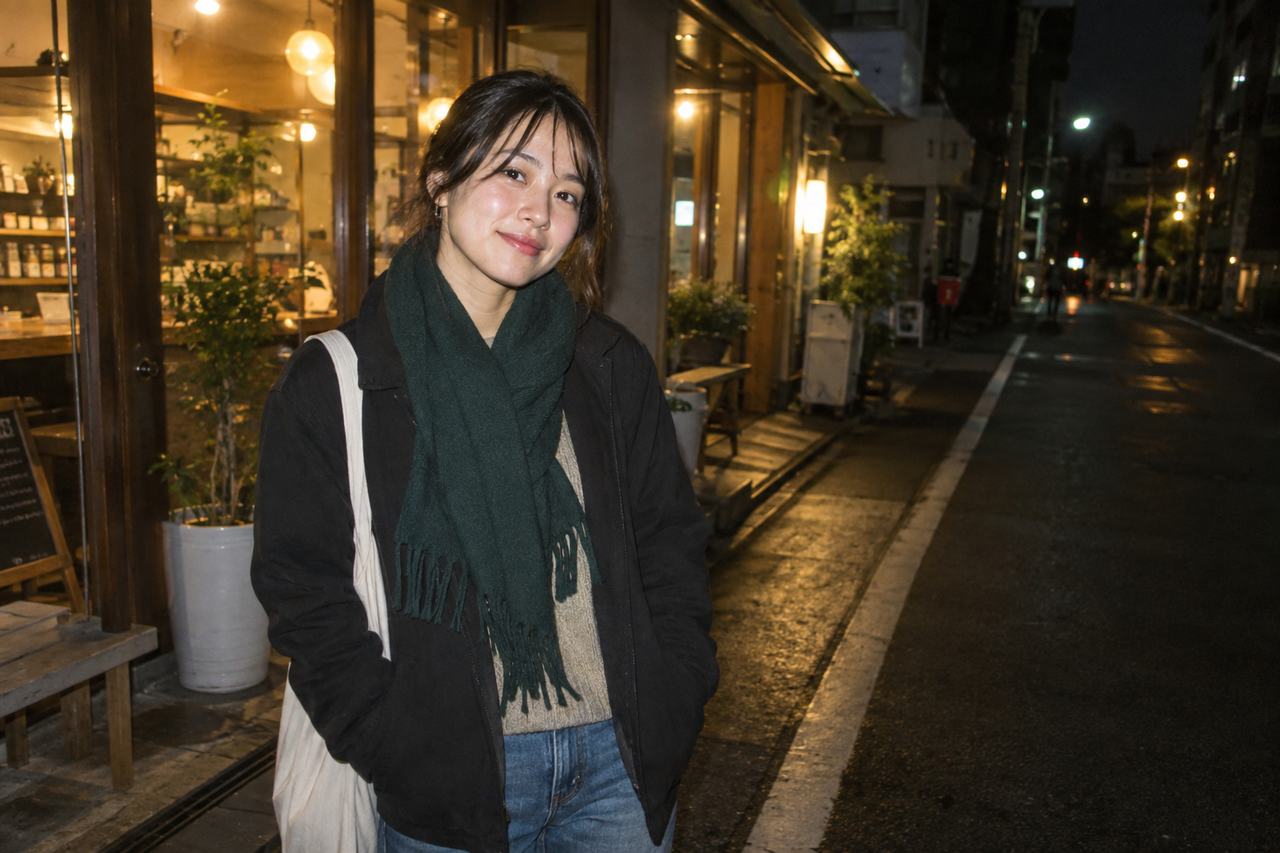
The light in the original scene shapes a digicam photo more than the name of the filter or style applied to it.
Daylight reveals color and highlight behavior, direct flash creates abrupt subject separation, and low light introduces slower exposures, noise, blur, and mixed color. The same visual treatment therefore cannot look identical—or, or equally natural—in all three conditions.A camera Style can guide color, contrast, grain, and mood, but it works with information already in the frame. It cannot give a night photo the clean color of open shade, sharpen a missed expression, or restore highlights that were never recorded. A convincing result begins with a light-aware capture and a Style whose strength suits that scene.
Why Does One Digicam Style Change With the Light?
A digicam Style changes from scene to scene because every edit starts with different brightness, color, contrast, and detail.
A preset does not replace the original light; it remaps what the camera captured. If one frame contains soft daylight and another contains a bright flash against a dark room, the same contrast or saturation adjustment will act on very different source material.This explains why copying a filter name rarely copies a result. Exposure controls highlight and shadow information, white balance shifts color, movement affects sharpness, and distance changes the relationship between a flash-lit subject and the background. Those physical conditions come first, even when the Style is selected before the shutter is pressed.
Daylight Shows Color, Highlights, and Skin Tone Clearly
Daylight gives a digicam look its cleanest test because strong available light preserves color and fine detail while making excessive processing easier to see.
In open shade or near a bright window, an iPhone can usually hold a face, clothing, and background with less visible noise than it can at night. A Style can then shape the mood without doing as much corrective work.Soft daylight supports lighter grain, moderate contrast, and restrained warmth. Skin should remain connected to the environment, while skies, foliage, white clothing, and reflective surfaces reveal when saturation or highlight compression has gone too far.Harsh midday sun needs a different decision. Top light can deepen eye shadows and clip pale surfaces, so moving into open shade usually matters more than adding a stronger vintage effect. In daylight, start gently and let the existing color carry the photograph.
What Does Direct Flash Add to a Digicam Photo?
Direct flash creates the familiar snapshot feel by lighting the nearby subject much more strongly than the distant background.
That rapid falloff produces subject separation, hard-edged shadows, small specular highlights, and a more immediate sense that the photographer was physically present.Flash works especially well when the room is dark enough for separation but still visible enough to explain the place. A face, jacket, or glass can pop forward while distant tables and walls remain darker. That lighting relationship is created at capture, not painted on afterward.Distance matters. If the subject is too close, skin and reflective objects may become harsh or overexposed. If the subject is too far away, a phone flash may not light them meaningfully. Before changing the Style, take one step backward or forward, check reflective surfaces, and decide how much of the room should remain visible. For a deeper look at that capture choice, read what makes the direct-flash digicam look work on iPhone.
Why Do Low-Light Digicam Photos Blur or Shift Color?
Low-light digicam photos are more likely to blur, show noise, or shift color because the camera has less light from which to build a clean image.
The phone may use a longer exposure, higher sensitivity, or multi-frame processing. Those choices can brighten the scene, but they also make hand movement, subject movement, and mixed lighting more visible.A vintage treatment can make those weaknesses feel intentional, but it cannot erase their cause. Added grain may roughen skin and shadows, saturation can exaggerate mixed light, and heavy contrast can bury an underexposed face. In a dark room, holding the phone steady and waiting for a still moment helps more than increasing the effect.On supported iPhones, the native Camera app can activate Night mode and use a longer exposure to capture more detail. That is useful for a relatively still street, room, or landscape, but it does not freeze a person who moves during the exposure. If the moment is fast—a dance floor, walking subject, or moving car—accepting a darker but sharper frame may be more natural than trying to brighten everything.
A Style Should Not Stay at the Same Strength in Every Scene
Consistency comes from a recognizable visual direction, not from forcing identical processing onto every lighting condition.
A daylight image may need only a subtle color shift, while a flash image can carry stronger contrast and a low-light frame may need less grain and saturation to avoid looking damaged.Think in relationships rather than fixed settings: keep skin believable, repeat a warm-to-cool balance, preserve useful background detail, and use grain as texture rather than a mask for blur. The set can feel connected even when one frame was made at noon and another after midnight.The same principle applies when choosing among camera looks. WayShot’s official App Store listing separates camera Styles by lighting and mood, including a daylight-oriented option and a direct-flash option, rather than presenting one treatment as universal. The broader guide to choosing a WayShot Style for different photo types can help you decide what visual direction fits the source image.
Should You Choose a Camera Style While Shooting or Edit Later?
Choose a Style while shooting when the light is stable and the look helps you make capture decisions; edit later when the light is changing or the original moment is difficult to repeat.
Neither workflow is inherently more authentic.Applying a Style at capture suits a daylight walk, a consistent party setup, or flash portraits in one room. Seeing the direction early exposes bright highlights, dark backgrounds, or drifting color and keeps the session simple.Editing from the library is safer when you are moving between daylight, indoor light, flash, and night. Capture the strongest expression and clearest frame first, then compare treatments when you have time. WayShot’s official App Store listing states that users can shoot with the camera or edit photos from their library, so both paths are part of the supported workflow. If you are still judging whether an app’s output feels camera-like across real scenes, use this practical test for a convincing digicam app.
Where WayShot Fits in a Light-Aware Workflow
WayShot fits users who want a fast, scene-aware digicam direction on iPhone without building every look manually.
Its official materials describe multiple camera Styles, in-camera shooting, and library editing, with different choices intended for different lighting and moods. That makes it a reasonable shortlist option for casual daylight photos, direct-flash nights, photo dumps, and everyday memories that need a recognizable visual direction.The boundary is just as important. WayShot does not change optical reach, freeze motion that was recorded as blur, restore clipped highlights, recover missing detail, or guarantee that one Style will suit every face and light source. A Style is not a substitute for focus, timing, distance, or a usable exposure. When those fundamentals fail, stronger processing usually makes the failure more visible.Use the native iPhone Camera when you need Night mode, precise exposure control, the quickest possible capture, or the cleanest original file. Use a manual editor when you need local exposure changes, selective color work, masking, or careful noise control. Use a physical camera when you need real optical zoom, a larger lighting system, or consistent technical control across demanding conditions. And when the file is already sound but the result starts to feel artificial, step back and review ways to improve photos without making them look over-edited.The digicam look is most convincing when light, moment, and Style agree. Daylight should still feel bright, flash should still feel immediate, and low light should still feel like night. Treat the Style as a response to the scene—not a command that every scene must obey.
FAQ
Why does the same digicam Style look different in different lighting?
Because the Style is applied to different starting information. Exposure, white balance, contrast, movement, and available detail all change between daylight, flash, and low light.
What is the main difference between daylight and flash digicam photos?
Daylight usually preserves broader color and background detail, while direct flash emphasizes a nearby subject and creates harder separation from the surroundings.
Why do vintage-looking camera photos get blurry at night?
Low light can require a longer exposure, so movement from the phone or subject is recorded as blur. A vintage Style may emphasize the effect, but it does not create the original motion.
Should I apply a camera Style while shooting?
Apply it while shooting when the light is predictable and the preview helps guide exposure and framing. Edit later when conditions change quickly or the moment cannot be repeated.
How can I keep digicam photos natural in low light?
Prioritize a steady phone, clear focus, restrained saturation, and enough background detail to preserve the setting. Avoid stacking heavy grain and contrast onto an already noisy file.