iPhone Snow Photos in 2026: Keep Snow White and Faces Natural
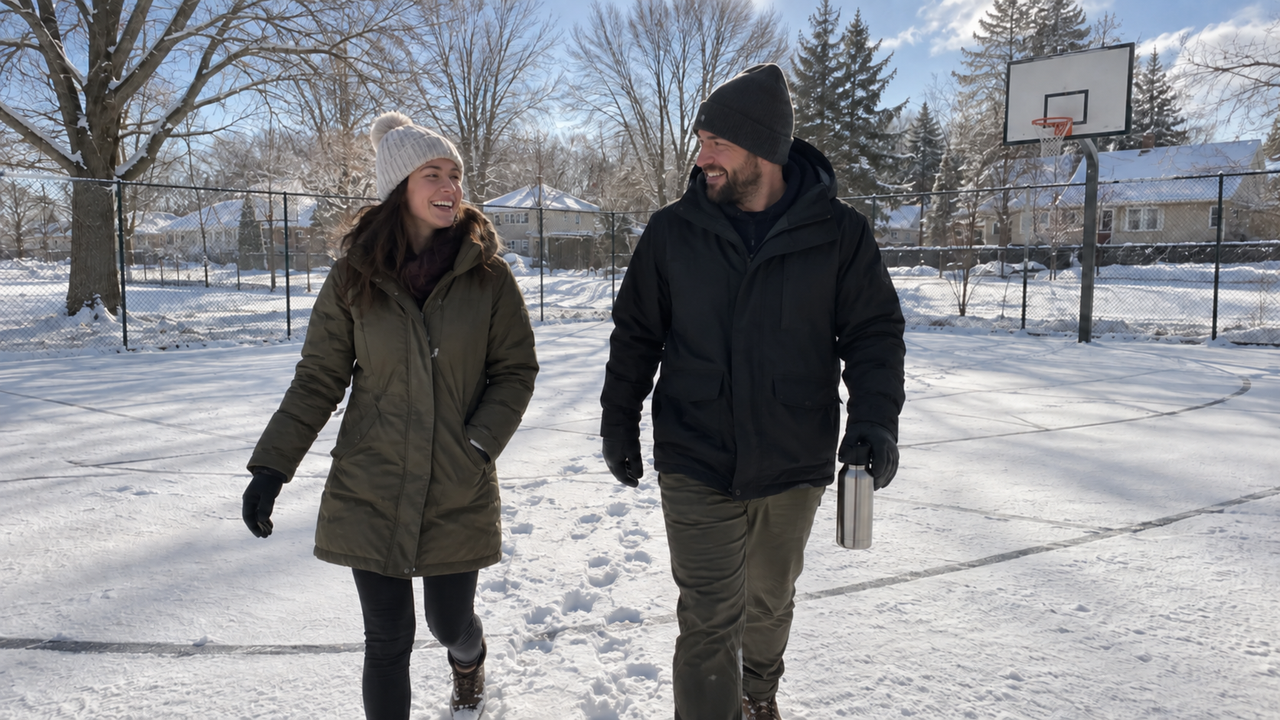
Natural iPhone snow photos depend on three things: bright snow that still has texture, a subject that is exposed clearly, and winter color that does not turn the entire frame blue or orange. Get those elements close while shooting, then use a camera Style to clarify the mood rather than repair missing detail.Snow is unusually demanding because it fills the frame with a surface that is both bright and nearly neutral. The phone must decide how bright that surface should be while also handling faces, dark coats, sky, and reflected color. A small exposure or position change before the shutter usually matters more than a stronger edit afterward.
Why Does Snow Look Gray or Blue in iPhone Photos?
Snow looks gray when the exposure is too low and blue when open-sky light or deep shade dominates the scene.A large field of snow can lead the camera to hold brightness down so the frame does not become featureless. That protects highlights, but it may leave clean snow looking dull and make a face in a dark coat feel even darker. Blue winter sky can also reflect into shaded snow, especially on an overcast day or beneath trees.Do not judge the frame by the snow alone. Look for three references at once: a patch of snow with visible texture, the subject’s face, and one neutral object such as a gray path, black glove, or white scarf. If the snow is bright but the face is unreadable, move the person or change the angle. If the face looks natural but every white surface is electric blue, the color direction needs restraint.
How Do You Expose Snow Without Blowing Out the Highlights?
Expose for the brightest snow detail that matters, then raise the frame only until the snow looks white—not blank.Tap the important subject on the screen, then watch the brightest nearby snow while adjusting exposure. Apple’s guide to iPhone focus and exposure controls confirms that you can tap to move the focus area, drag the exposure control, and hold to use AE/AF Lock. Locking focus and exposure is useful when you want several frames under the same winter light.Look for footprints, small ridges, or the shadow side of a snowbank. Those details should remain visible. If they disappear into a smooth white area, lower the exposure slightly. If the entire scene looks muddy and the snow never reaches a clean white, raise it carefully while keeping the subject readable.Take a second frame with a slightly different exposure when the moment allows. Snow, clouds, pale clothing, and skin rarely reach their best balance in exactly the same frame. Two deliberate versions are more useful than a long burst made without checking the light.
How Can You Keep Faces Natural Against Bright Snow?
Put the face in clean open light and use snow as gentle fill, not as the only reason to brighten the whole image.Fresh snow reflects light upward, which can soften shadows under the eyes and chin. That reflection is helpful when the person faces open sky or stands near the edge of shade. It becomes harder to manage when direct sun hits one side of the face while blue shadow covers the other.Turn the person until both eyes are readable, then check the forehead, cheeks, and hands. If those areas have noticeably different color, rotate the subject or move a few steps before editing. A darker line of trees behind the person can also create separation without requiring extra contrast.Bright winter clothing can affect the decision. A white coat may merge with the snow, while a saturated red hat can become the strongest color in the frame. Keep one clear accent and let the rest of the palette stay quiet. For portraits, the same principle behind keeping faces recognizable during natural photo editing still applies: skin and familiar facial detail are the boundary.
Sunny Snow and Overcast Snow Need Different Decisions
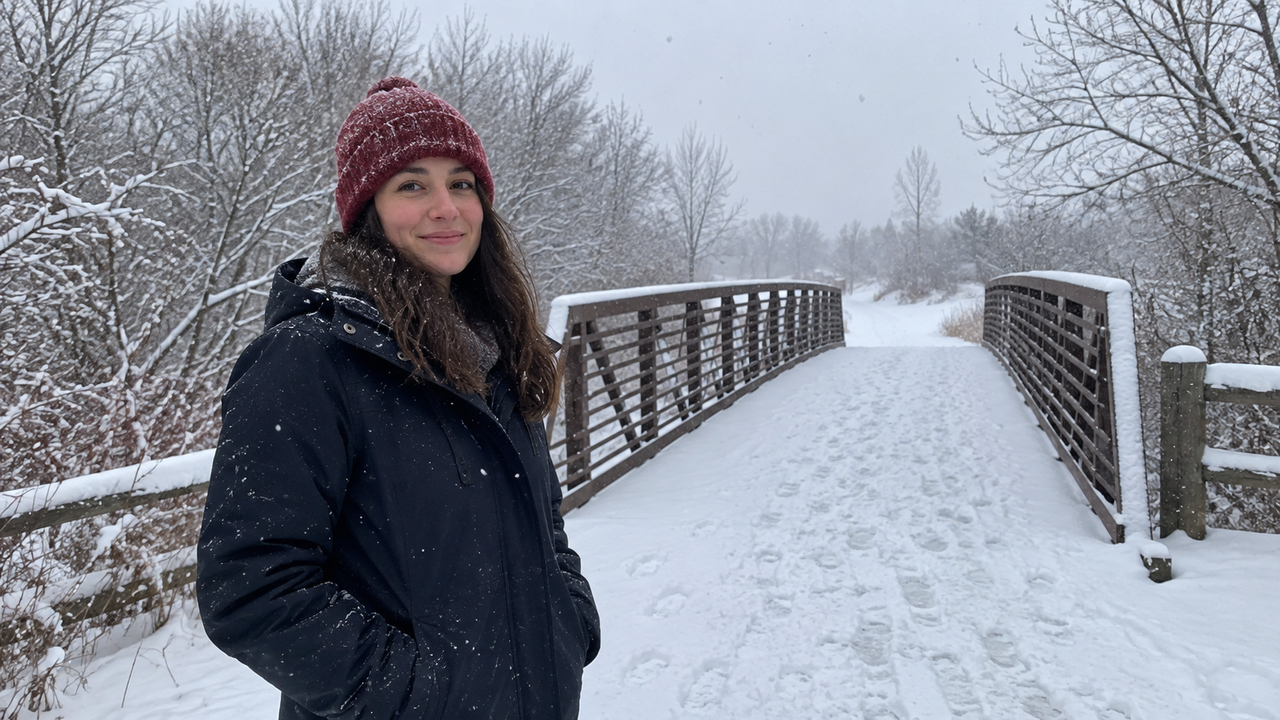
Sunny snow needs highlight control; overcast snow needs subject separation.
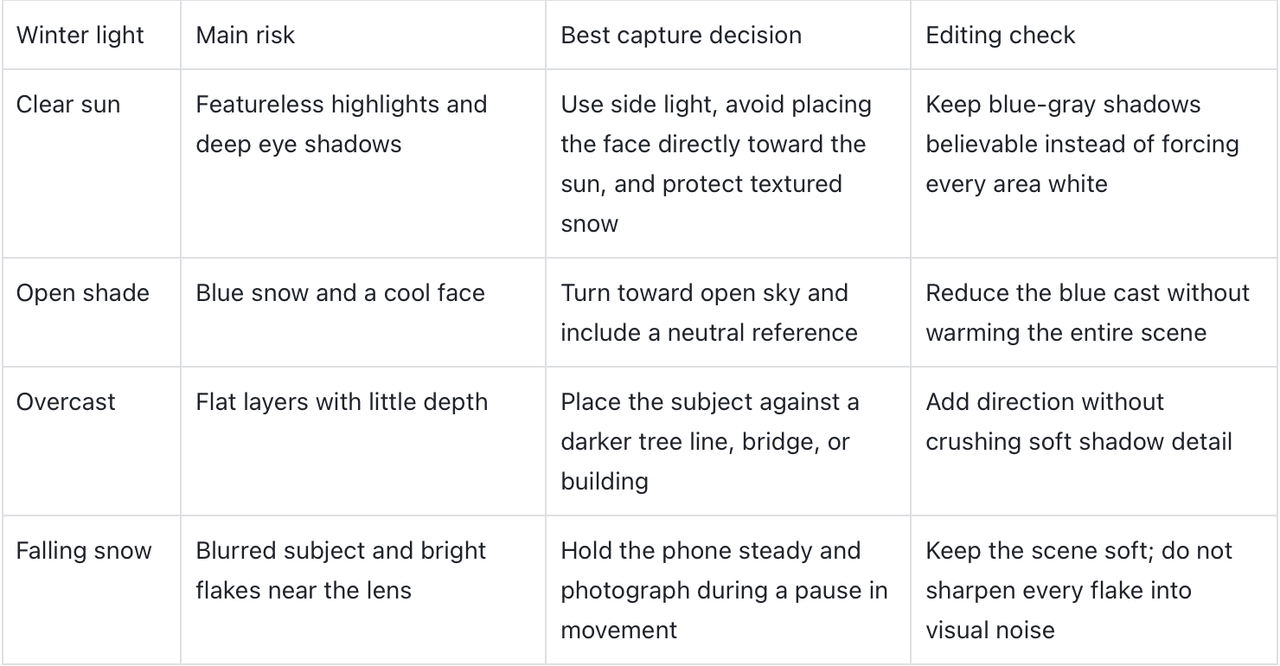
The same camera treatment will respond differently in each condition. The guide to how digicam photos change with available light explains why the source scene comes before the Style name. Snow makes that relationship especially visible because small changes in brightness and color affect most of the frame.
How Do You Photograph Falling Snow and Moving People?
Stabilize the phone, wait for a readable gesture, and decide whether motion is part of the story before you shoot.Brace your elbows, use both hands, and avoid digital zoom when the light is low. If a friend is walking, ask them to cross the frame at a steady pace rather than moving directly toward the camera. Photograph the moment when their face and front foot are both readable.Falling flakes close to the lens may appear large and soft, while distant snow may barely register. That difference can give the scene depth. It becomes distracting when a bright flake covers an eye or the phone moves enough to smear the entire subject. Make a short sequence, then keep the frame with the clearest expression and most useful snow pattern.A little motion can feel honest. Severe movement across the face, an accidental focus miss, or camera shake across the whole frame is a capture failure, not a vintage effect waiting to be added.
Should You Choose a WayShot Style While Shooting or Edit Later?
Choose a Style while shooting when the winter light is stable; apply a Style to a library photo when the light or action changes too quickly to judge in the moment.The official WayShot iPhone listing says users can choose a camera Style for the scene and then shoot, or edit photos from the library. In steady overcast light, previewing a direction can help you notice whether snow is becoming too blue, a coat is losing detail, or a face looks too warm. During active snowfall, a walk, or a rapidly brightening break in the clouds, capturing the cleanest frame first gives you more time to judge it afterward.Start with the scene rather than choosing the most dramatic look. The current guide to matching a WayShot Style to the photo type is a useful next step once exposure, focus, and color references are sound. For snow, compare the result at full size. White snow should not become one flat color, skin should remain familiar, and dark coats should still contain shape.
What Can a Camera Style Change—and What Requires a New Photo?
A camera Style can shape the overall color, contrast, texture, and mood of a usable snow photo; it cannot rebuild information the camera failed to record.A Style may help a gray overcast frame feel more intentional, relate the color of a coat to the winter setting, or give a short set a consistent visual direction. It cannot repair severe motion blur, missed focus, completely overexposed snow, or facial detail that was never captured. It also cannot move a tree out of a person’s head or reveal a hand cropped outside the frame.Use this order: check focus, check the brightest snow, check the face, check the edges, then choose the visual direction. If one of the first four fails, reshoot when possible. If they work and the photo still feels visually undecided, styling is the appropriate next step.
A Quick Snow-Photo Check Before You Leave
- Snow looks bright but still shows footprints, ridges, or soft shadow.
- The face is readable and not split between strong blue and warm light.
- Focus sits on the subject, not on a nearby flake or branch.
- Dark clothing keeps enough detail to show its shape.
- One accent color supports the scene without dominating it.
- The frame has no clipped hands, distracting edge objects, or accidental mergers.
The most believable winter photographs still feel cold, bright, and slightly difficult. Snow should not become gray, but it does not need to be perfectly neutral in every shadow. Preserve the evidence of the day, then let the Style organize what the camera already captured.
Frequently Asked Questions
Why does snow look gray in iPhone photos?
Snow often looks gray when the camera holds exposure down to protect a bright frame. Raise exposure carefully until the snow looks white while keeping footprints, ridges, and other highlight detail visible.
How do I stop snow from looking too blue?
Use a neutral object and the subject’s skin as color references, then reduce the blue cast without warming the entire image. Blue-gray shadow can remain because it is a normal part of winter light.
Where should I focus in a snow portrait?
Focus on the person’s face, not on the snow or a nearby falling flake. Check the eyes at full size before deciding whether the frame is sharp enough to keep.
Is sunny or overcast light better for snow photos?
Both can work. Sunny snow has stronger shape but requires careful highlight control, while overcast snow gives softer faces and needs clearer subject-background separation.
Should I use a WayShot Style while taking snow photos?
Use a Style while shooting when the light is stable and the preview helps you judge color and contrast. Apply a Style to a library photo when snowfall, movement, or changing light makes capture the priority.
Can a Style fix blurry or overexposed snow photos?
No. A Style can change the overall visual direction of a usable image, but it cannot repair severe motion blur, missed focus, completely overexposed snow, or detail the camera never recorded.