Fall Night Photography on iPhone in 2026
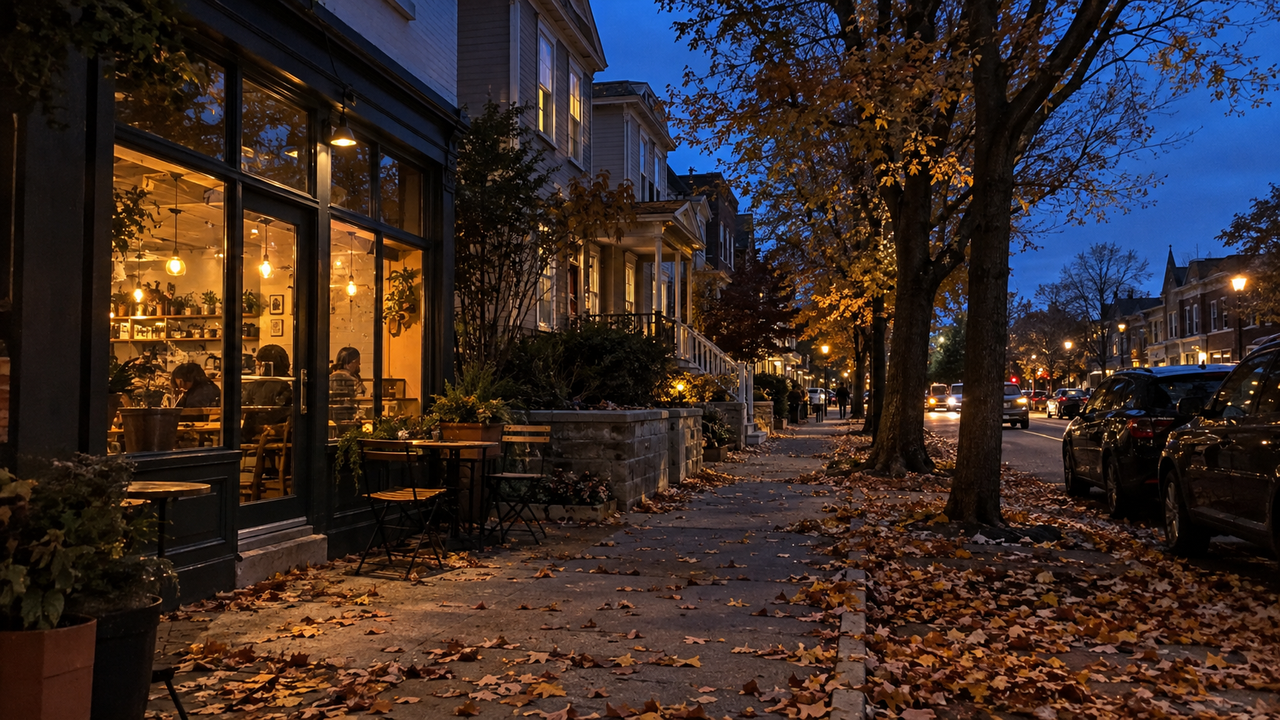
Natural-looking fall night photos depend on preserving three things at once: the warmth of the lights, enough detail in the people, and enough of the dark environment to show that it is actually night. The goal is not to turn the whole frame orange. It is to let a porch lamp, café window, pumpkin, or string light feel warm while the blue sky, dark street, fallen leaves, and faces remain believable.That balance starts before editing. Autumn evenings get dark quickly, and a scene can move from soft dusk to high-contrast night in minutes. If you protect the brightest lights, give your subject a usable source of light, and keep the phone steady, you will have a stronger photo than one that depends on heavy warmth or shadow recovery later.
Fall Night Photos Look Most Natural During Blue Hour
The easiest time to photograph a fall evening is shortly after sunset, when the sky still holds blue color but streetlights and windows are already visible. This brief transition gives the iPhone more environmental light to work with, so buildings, leaves, and people do not collapse into separate bright spots against a black background.Start while the street still looks slightly brighter to your eyes than the final mood you want. The phone will usually record the scene darker and more dramatic than it appears in person. Include a strip of sky, a lit doorway, and a darker foreground in the same frame. Those three zones create depth and make the warm lights feel warm because there is cooler ambient color around them.If you wait until the sky is completely black, simplify the composition. Move closer to one subject, use fewer light sources, and stop asking the camera to preserve every detail from the nearest lamp to the farthest tree. The same Style can also respond differently as the available light changes, which is why it helps to understand why digicam photos change with daylight, flash, and low light.
Why Do Streetlights and Storefronts Make Skin Look Strange?
Mixed light creates unnatural skin when two sources with different colors illuminate the face at the same strength. A warm café window may light one cheek while a cool streetlight or bright sign affects the other. Adding more warmth afterward usually makes the warm side too orange without fixing the cool side.Choose one light to lead. Ask the person to turn toward the café window, porch lamp, market stall, or open doorway that gives the face the cleanest color. Take one or two steps sideways until the competing light becomes weaker. A three-quarter turn often works better than facing the light directly because it keeps gentle shadow on one side of the face.Watch the forehead, cheeks, and hands before you take the photo. If they have noticeably different colors, change the position rather than trying to correct the entire image later. The same restraint matters in editing: natural photo editing should keep faces recognizable, even when the surrounding scene is warm and atmospheric.
Expose for Pumpkin Lights Before They Lose Their Shape
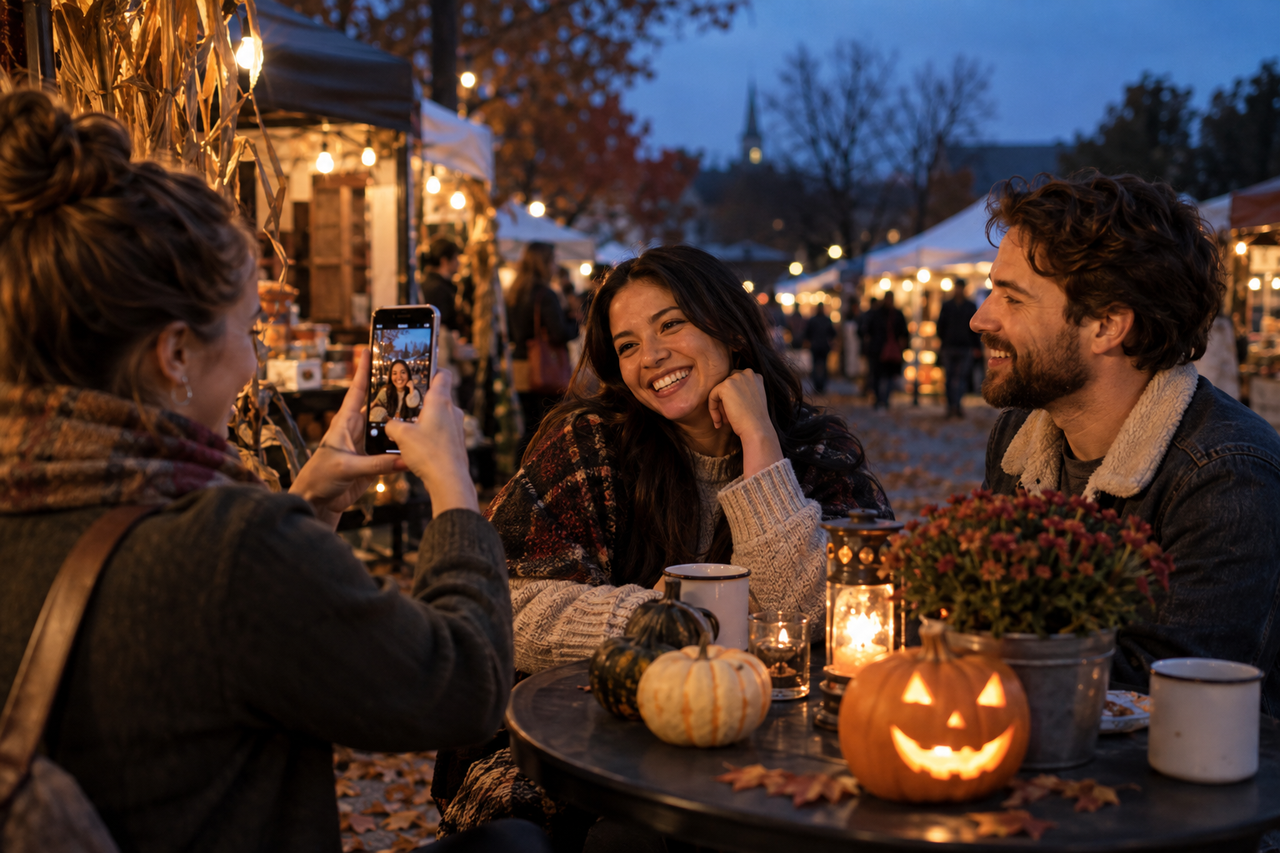
Pumpkin lights look convincing when the carved openings still have shape and the pumpkin retains surface texture. If the glowing face becomes a flat white patch, the highlight information is gone and a Style cannot recreate it.Frame the scene, tap the pumpkin or another important bright light, and lower the exposure until the brightest area shows color and edge detail. Then look at the person. If the face is too dark, do not immediately brighten the entire frame. Move the person closer to a storefront, porch, lantern, or other broad source of ambient light. A small position change can brighten a face without sacrificing the pumpkin.For a portrait beside a pumpkin display, keep the glowing pumpkin slightly to the side rather than directly under the face. Light from below can make skin look uneven and eye sockets appear dark. A nearby window or string of lights placed closer to eye level will usually produce a more natural result.
How Do You Keep a Face Visible Without Erasing the Night?
Keep the face visible by bringing the person toward existing light, not by lifting the whole scene until the night looks gray. A bright doorway, café window, vendor stall, or porch can act as a soft key light while the street behind the subject stays dark.Place the person near the edge of the light rather than directly under a small overhead bulb. Overhead light often creates deep eye shadows, while light arriving from the front or side gives the eyes and cheeks more shape. Step closer instead of zooming. A tighter frame gives the face more pixels and reduces the amount of nearly black background the camera must interpret.Tap the face to set focus, then make a small exposure adjustment while watching the brightest lamp in the frame. If the face moves, refocus before each short sequence. For couples or groups, ask everyone to pause for a beat at the end of a laugh or gesture. The photograph can still feel candid even when the subjects hold still for the fraction of a second the phone needs.
A Steady iPhone Preserves More Night Detail Than Extra Brightness
Stability is the simplest way to protect detail in a dark fall scene. When the phone has less light, it may need a longer capture, and small movements can soften faces, leaves, signs, and building edges at the same time.Use both hands, keep your elbows near your body, and lean against a wall, table, fence, or parked car when one is available. Press the shutter gently instead of jabbing at the screen. If the subject is moving, take several frames while maintaining the same composition; choose the sharpest expression later. Avoid digital zoom at night because it magnifies both blur and noise.Focus on the part of the photograph that must be sharp. For a portrait, that is the nearest face. For a pumpkin display, it may be the front pumpkin rather than the distant lights. A slightly dark but sharp image gives you more useful choices than a bright image with motion blur.
Fall Leaves Need Directional Light to Stay Visible at Night
Leaves keep their shape at night when light crosses them from the side or shines through them from behind. Flat front light can make a pile of leaves look like one brown surface, while no light at all turns the trees into a solid silhouette.Look for the edge of a streetlight, storefront glow, or porch light reaching across the sidewalk. Place a branch, a few foreground leaves, or a person within that pool of light and let the rest fall darker. Wet leaves and pavement can add useful reflections, but check that the brightest reflection is not distracting from the subject.You do not need every leaf to be orange. Muted brown, rust, yellow, and olive make the warm lights more credible. If all the foliage becomes the same saturated orange, the scene loses the small color differences that create depth.
When Should You Choose a Style While Shooting?
Choose a Style while shooting when the light is stable and you already understand the mood you want. A porch portrait with one consistent lamp or a market table under steady string lights gives you time to preview the scene, check the face, and commit to a look.Save the original scene first when the light is changing quickly, the subject is moving, or the frame contains several competing light colors. You can then review sharpness, facial color, and highlight detail before deciding how much visual character the photo needs. WayShot’s official iPhone listing says you can choose a camera Style for the scene and either shoot with the camera or edit a photo from your library. The guide to WayShot Styles for different photo types can help you choose a direction, while the official WayShot App Store page describes the current capture and library-editing workflow.
Where WayShot Fits—and Where It Stops
WayShot fits after the essential photographic decisions are already sound: the subject is in focus, the phone is steady, the brightest light still has detail, and the face has usable illumination. At that point, a Style can help give the image a clearer visual direction without requiring a long manual editing session.A Style cannot repair severe defocus, remove strong motion blur, or reconstruct a pumpkin light or window that is completely overexposed. It also cannot selectively correct two conflicting light colors as precisely as a full manual editor. If a person is lit orange on one side and green on the other, repositioning during capture is more reliable than expecting one global treatment to make both sides natural.WayShot is therefore most useful for iPhone photographers who want a fast, scene-aware choice at capture time or a straightforward way to style a usable photo from the library. A more specialized editing workflow may be more appropriate when a single image needs local masking, detailed color correction, object removal, or technical restoration.
A Five-Point Check Prevents an Over-Warm Fall Night Edit
A finished fall night photo should still look like night. Before saving or posting, check five things: bright lamps and pumpkins retain visible shapes; the main face is recognizable and not orange; the sky or distant street remains blue, gray, or neutral-dark rather than warm brown; leaves show more than one tone; and shadows stay dark enough to preserve atmosphere.If all five areas have moved toward the same orange color, the edit is too warm. If the face is clean but every background detail has disappeared, the frame may be too dark. If every shadow has been lifted, the photo may look flat. The strongest result usually keeps a clear hierarchy: the face or subject is readable, the warm lights attract attention, and the cool environment explains where the moment happened.
Frequently Asked Questions
Why do my fall night photos look too orange?
Warm streetlights, windows, pumpkins, and an added warm treatment can stack together. Use one light as the main source, keep cooler ambient areas in the frame, and stop warming the image when neutral objects and skin begin to look orange.
How do I stop pumpkin lights from blowing out on iPhone?
Tap the glowing pumpkin or another important bright area and lower the exposure until the carved openings retain color and edges. Add light to the person by changing position rather than brightening the whole image.
What is the easiest time to take fall night photos?
Blue hour, shortly after sunset, is usually the easiest because warm artificial lights are visible while the sky and surroundings still contain enough ambient color and detail.
How can I keep a face visible without using direct flash?
Move the person close to a broad existing source such as a storefront, porch, doorway, or market stall. Light from the front or side is generally more flattering than a small bulb directly overhead.
Can a WayShot Style fix a blurry fall night photo?
No. A Style can change the visual treatment of a usable image, but it cannot restore severe defocus, strong motion blur, or detail that was completely clipped by overexposure.
Should I apply a Style while shooting or edit the photo later?
Apply a Style while shooting when the light is consistent and the intended mood is clear. Edit from the library when the light is changing, the subject is moving, or you want to confirm sharpness, skin tone, and highlight detail first.
Links Used
- Destination URL: https://www.wayshot.ai/blog/digicam-photos-change-with-daylight-flash-and-low-light
- Destination URL: https://www.wayshot.ai/blog/natural-photo-editing-keeps-faces-recognizable
- Destination URL: https://www.wayshot.ai/blog/the-best-wayshot-filter-styles-for-different-types-of-photos
- Destination URL: https://apps.apple.com/us/app/wayshot-aesthetic-photo-editor/id6749303003