Fall iPhone Photography in 2026: Better Mood Without Over-Editing
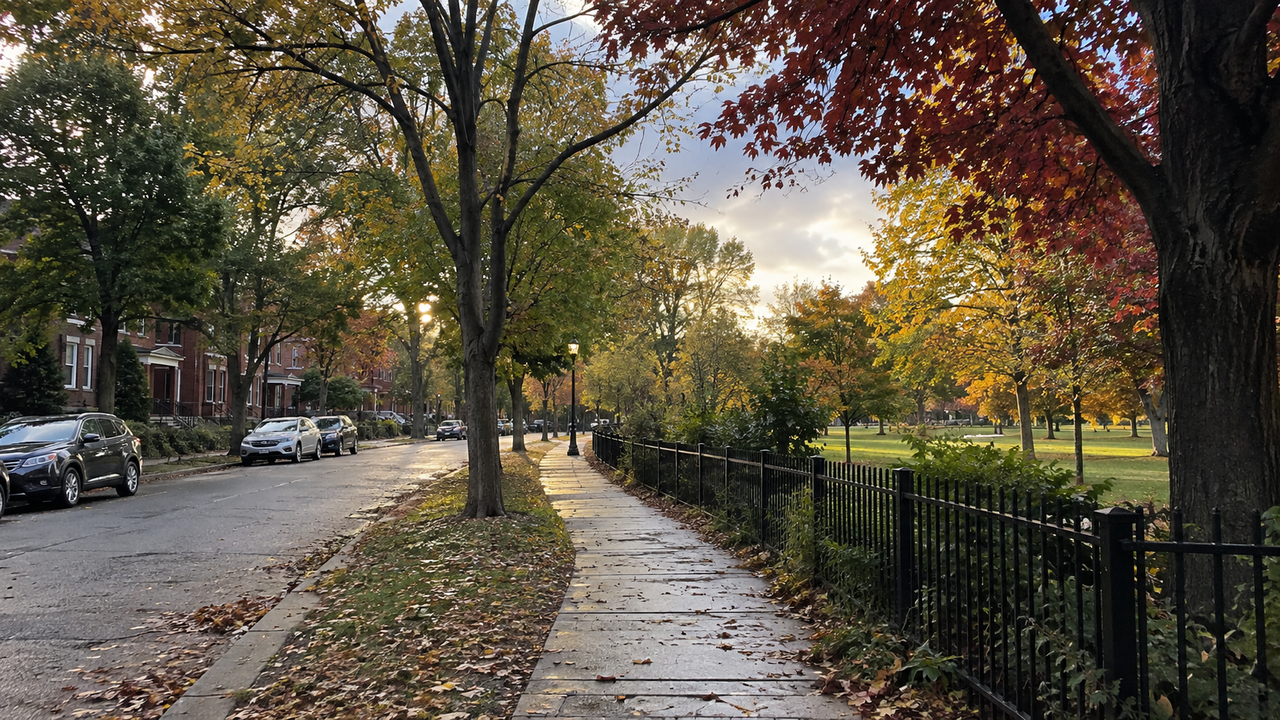
The key to natural-looking fall iPhone photos is preserving believable light, layered leaves, and recognizable skin—not simply adding more warmth. Autumn already brings strong color. A convincing photo keeps yellow separate from red, allows brown and green to remain, and makes a person look like they belong in the scene.That approach works across a cloudy park walk, a bright afternoon street, or the last minutes of golden hour. Get the light and exposure close while shooting, then use editing to clarify the mood rather than invent it.
Fall Color Looks Real When Nearby Neutrals Stay Neutral
Autumn leaves look more believable when gray pavement, tree bark, white clothing, and skin remain close to their natural color. These neutral references tell the viewer that the foliage is genuinely warm instead of globally tinted.Before taking the photo, look for more than the brightest tree. A strong fall frame usually includes several stages of the season: deep green, yellow, rust, muted red, dry brown, and open branches. That variation gives color depth. If every leaf becomes equally orange in the final image, the scene loses the differences that made it interesting.On the iPhone screen, tap the area that matters most and watch pale surfaces near it. If a light sidewalk, shirt, or building facade turns orange, the color is already moving too far. During editing, compare the styled result with the original at full size. Reduce the effect when bark, stone, or clouds begin to share the same warm cast as the leaves.For a landscape-focused version of this decision, the guide to keeping autumn forest color restrained explains why seasonal color needs room rather than more saturation.
Why Do Cloudy Fall Photos Look Gray?
Cloudy fall photos look gray because soft light reduces the bright highlights and deep shadows that normally separate leaves, paths, and people. The answer is to create visual separation with viewpoint and subject placement, not to cover the entire frame with orange.Start by choosing one clear foreground element: a branch, a person, a park bench, or a curve in the path. Then place a brighter patch of foliage or open sky behind it. This creates depth even when the light is flat. Moving a few steps sideways often adds more shape than increasing contrast later.Overcast light is useful for portraits because it is broad and gentle. Turn the person toward the open sky rather than placing them under the darkest part of a tree canopy. Their face will receive cleaner light, while the foliage behind them can stay slightly deeper and more colorful.If the frame still feels dull, lift the middle tones modestly and protect the darkest trunks or coats from becoming solid black. Avoid pushing every shadow upward. A cloudy day should remain soft; the goal is readable layers, not the hard contrast of direct sun.
Golden-Hour Exposure Starts With the Brightest Important Detail
At golden hour, expose for the brightest detail you care about—usually the lit side of a face or a patch of sunlit leaves. Once those highlights become featureless, no Style can restore their texture.Place the low sun behind or to the side of the subject rather than directly across the face. Side light gives leaves dimension and keeps a portrait from turning into a squint. Backlight can create a thin glow around hair and branches, but it also makes the iPhone brighten the foreground. Tap the face, raise exposure only enough to read the features, and accept that the sun itself may remain very bright.Take a second frame with slightly lower exposure whenever the sky or illuminated leaves are important. It is easier to brighten a mildly dark face later than to recover a blank sky or a yellow tree with no visible leaf detail. The same principle appears in the guide to balancing skin with a bright golden-hour background.
How Do You Balance Skin Tone With Autumn Leaves?
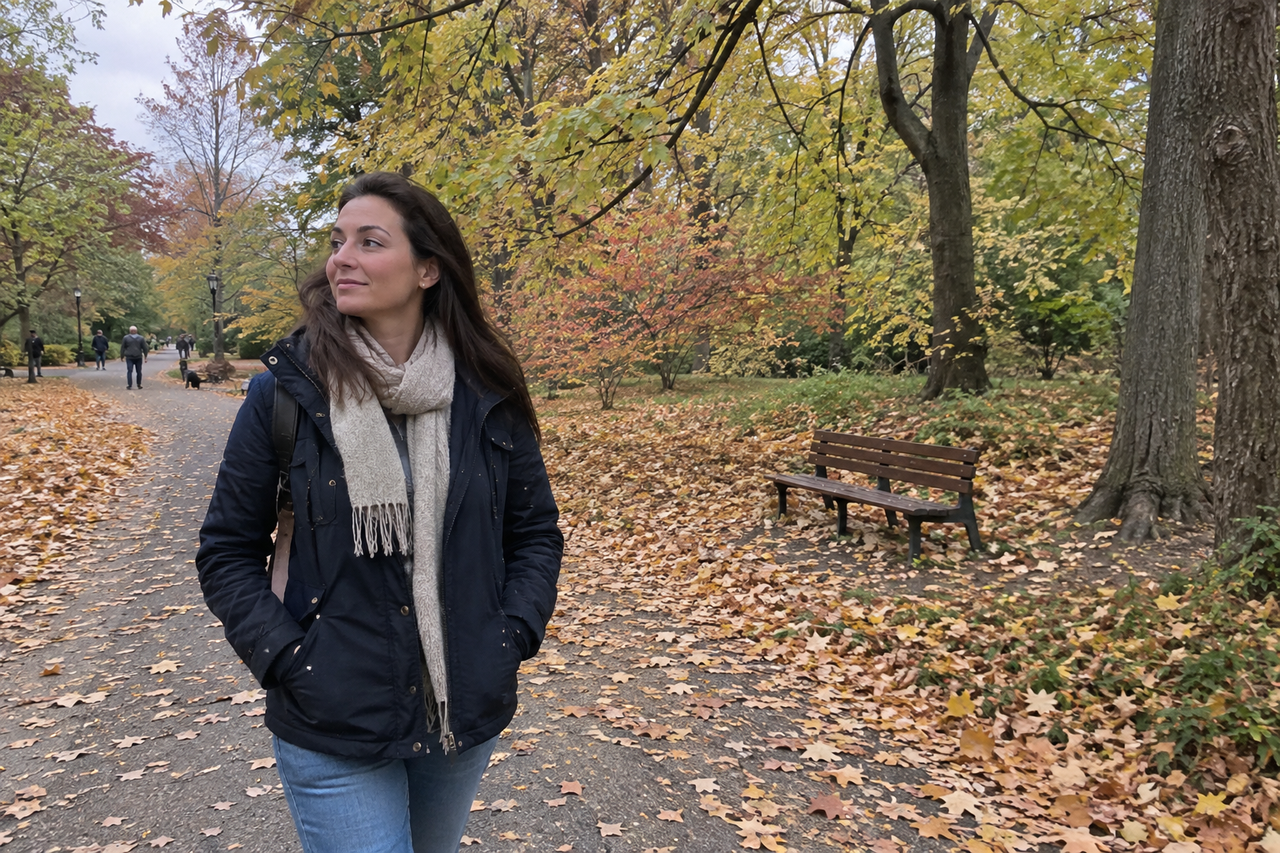
Balance skin and fall color by lighting the face with open sky while using foliage as the setting, not as a color source. A face surrounded by orange leaves does not need to become orange too.Move the person a few feet in front of the most colorful tree instead of pressing them against it. That distance keeps the background readable and prevents the leaves from competing with every facial detail. Choose a spot where the face sees open sky; a dense canopy can cast green, yellow, or red reflections onto skin.Neutral or cool clothing can help separate a portrait from warm surroundings. Navy, charcoal, denim, cream, and muted green give the eye a stable reference. Bright orange clothing against orange foliage can work, but it needs shape from light or contrast from a cooler part of the frame.When editing, check lips, cheeks, and the whites of the eyes before judging the trees. If the face no longer looks familiar, reduce the warmth or choose a cleaner direction. The same recognition check is central to natural photo editing that keeps faces recognizable.
Composition Creates Fall Mood Before Editing Begins
Fall mood becomes stronger when the frame shows the season through depth, movement, and small details rather than filling every corner with colorful leaves. Composition does the emotional work before a Style is applied.Use a path, fence, row of trees, or street edge to lead into the image. Include fallen leaves in the foreground and living leaves higher in the frame to show the season in transition. A person walking, holding a coat, or looking toward the trees gives the scene a human scale without requiring a formal pose.For close details, photograph one branch against a quieter background instead of zooming into a dense wall of color. For wider scenes, leave room for neutral sky, pavement, water, or architecture. That visual pause keeps the warm palette from becoming heavy.Take one wide scene, one environmental portrait, and one small detail during the same walk. The three frames can share a mood without using identical color treatment, because their subjects and lighting are different.
Use a Camera Style While Shooting When the Light Is Stable
Choose a Style while shooting when the light remains consistent and a test frame preserves skin, leaf texture, and highlights. Apply a Style afterward when the walk moves between sun, shade, and overcast conditions.A fixed park bench in open shade is predictable enough for a capture-time choice. Take one photo, compare the face and foliage with the scene in front of you, then continue if the result stays believable. A moving walk is less consistent: the same look that suits a bright street can feel too warm under trees two minutes later.WayShot’s official App Store listing says iPhone users can choose a camera Style and shoot, or apply a Style to a photo from the library. That makes it practical to use a Style at capture when the light is steady and keep an unstyled original when conditions are changing. The official WayShot iPhone listing describes its current scene-oriented Styles and workflow.
Where WayShot Fits—and Where It Does Not
WayShot fits a fall workflow when the original already has useful light and composition and the photographer wants a faster, scene-based visual direction. Daylight and travel-oriented Styles are the more natural starting point for park walks and street scenes; portrait-oriented options make more sense when a person is the main subject.It cannot change the direction of sunlight, recover a featureless bright sky, remove motion blur, or correct one leaf and one face independently. A manual editor is more appropriate when different parts of the frame need separate masks, precise color work, or detailed highlight recovery.WayShot is also not a reason to use the same treatment for an entire fall trip. A cloudy portrait, a sunlit tree, and an evening street may need different choices. Use the app when its quicker Style-based workflow matches the photo, and keep the original when the scene needs more control.
FAQ
Why do fall leaves look too orange in iPhone photos?
Leaves often look too orange when warmth or saturation is applied to the entire frame. Compare neutral objects such as pavement, bark, clouds, clothing, and skin with the original, then reduce the effect until those references look believable again.
What is the easiest way to improve cloudy autumn photos?
Create separation through composition. Place a clear subject against a brighter or more colorful background, use a path or branch for depth, and lift midtones gently without turning soft overcast light into hard contrast.
Should the sun be behind a person for a fall portrait?
Backlight can work when you expose carefully for the face and preserve important highlights. Side-backlight is often easier because it creates a rim of light without putting the brightest part of the sky directly behind the person.
How can I keep skin natural around red and yellow leaves?
Move the person into open sky light, keep some distance from intensely colored foliage, and judge the edit by the face before judging the leaves. Reduce warmth if skin, lips, or eye whites pick up the seasonal color.
Should I apply a WayShot Style while taking fall photos?
Use a Style while shooting when the light is stable and a test frame already preserves skin and highlights. Apply it later when the scene shifts between sun, shade, and overcast light or when keeping an unstyled original is important.
Can a Style fix blown-out golden-hour highlights?
No. A Style can change the visual direction of recorded detail, but it cannot restore texture that the camera did not capture. Lower exposure or change the angle before taking the photo.
Links Used
- keeping autumn forest color restrained — https://www.wayshot.ai/blog/autumn-forest-photos-need-color-restraint-not-more-warmth
- balancing skin with a bright golden-hour background — https://www.wayshot.ai/blog/better-sunset-beach-portraits-keep-skin-and-sky-in-balance
- natural photo editing that keeps faces recognizable — https://www.wayshot.ai/blog/natural-photo-editing-keeps-faces-recognizable
- official WayShot iPhone listing — https://apps.apple.com/us/app/wayshot-aesthetic-photo-editor/id6749303003