Using WayShot for Simple Digicam-Style iPhone Editing in 5 Steps
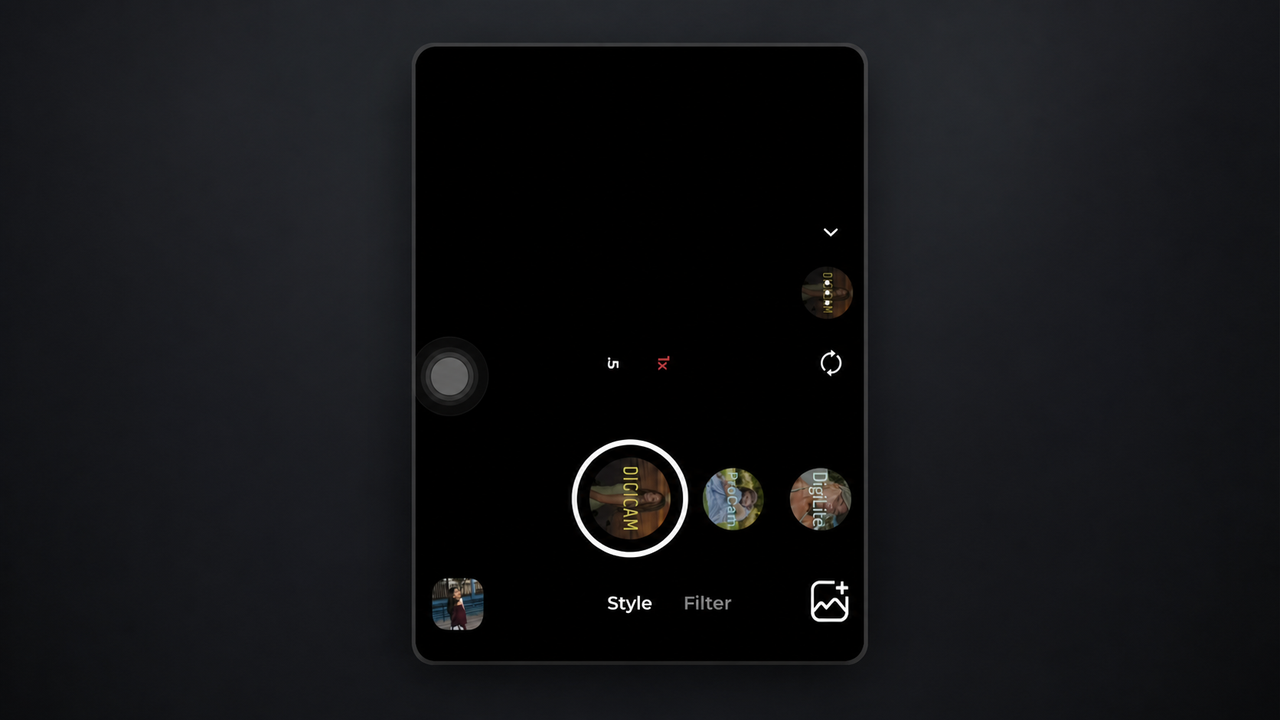
You don’t need to know how to use curves, masks, layers, or dozens of editing tools to give a photo more character.With WayShot, the process is simple: choose a Style, upload your photo, tap Reimagine, and wait for the result.If you’re after that early-digital-camera feeling—flash, grain, stronger color, and the slightly imperfect look of old compact-camera photos—DigiCam is a good place to start.Think birthday dinners, rooftop parties, restaurant portraits, late-night photos with friends, or vacation pictures that feel a little too clean straight out of your iPhone.
Here’s how it works.
Step 1 — Open WayShot
Open the WayShot app on your iPhone. You can begin from the app’s camera interface and work with a photo from your library.
Step 2 — Choose a Style
Select the Style that best matches the direction you want for the photo. WayShot’s current official materials organize Styles around different scenes and moods, including after-dark flash, daylight color, warm portraits, black-and-white photography, and a cleaner polished finish.You do not need to understand professional editing terminology before choosing. Think about the photo itself: Is it a night-out image, a daylight travel shot, a portrait, or a frame that would work better in monochrome? The tutorial uses DigiCam as one example, but the same selection step applies to any available Style.
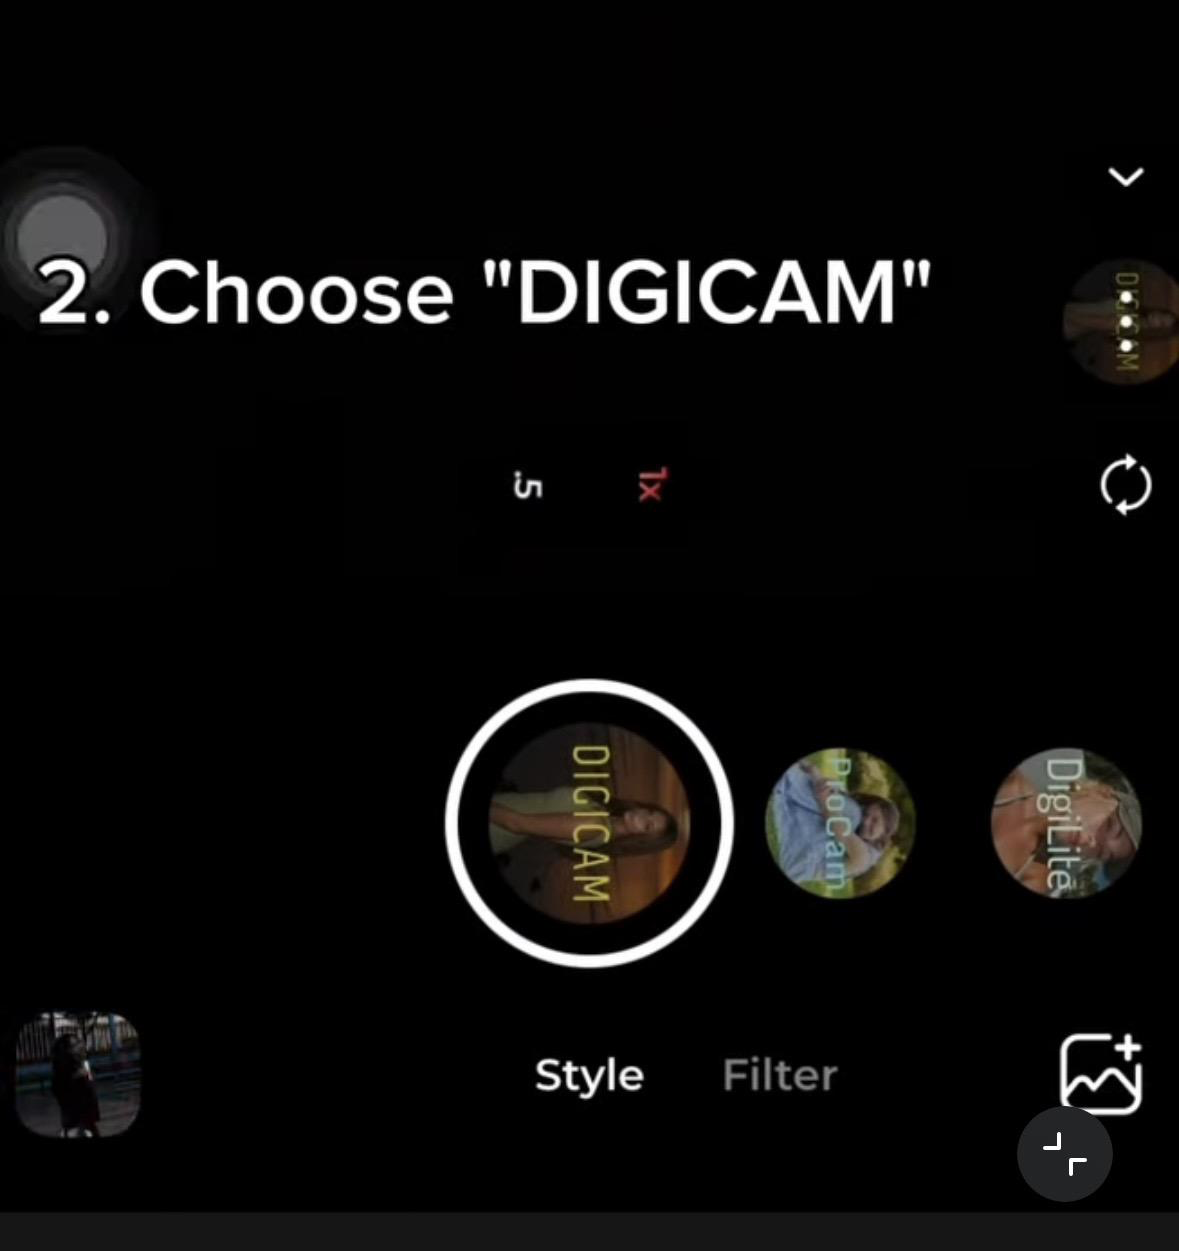
Choose the Style that matches the scene; DigiCam is used as the example in this tutorial.
Step 3 — Select and Upload Your Photo
Choose the photo you want to process from your library and upload it into the selected Style. Starting with one photo makes it easier to judge whether that visual direction suits the subject, lighting, and mood.
Step 4 — Start Processing
Tap the processing action shown as Reimagine in the current tutorial. WayShot then handles the transformation automatically; there is no separate sequence of sliders or manual adjustments in this workflow.
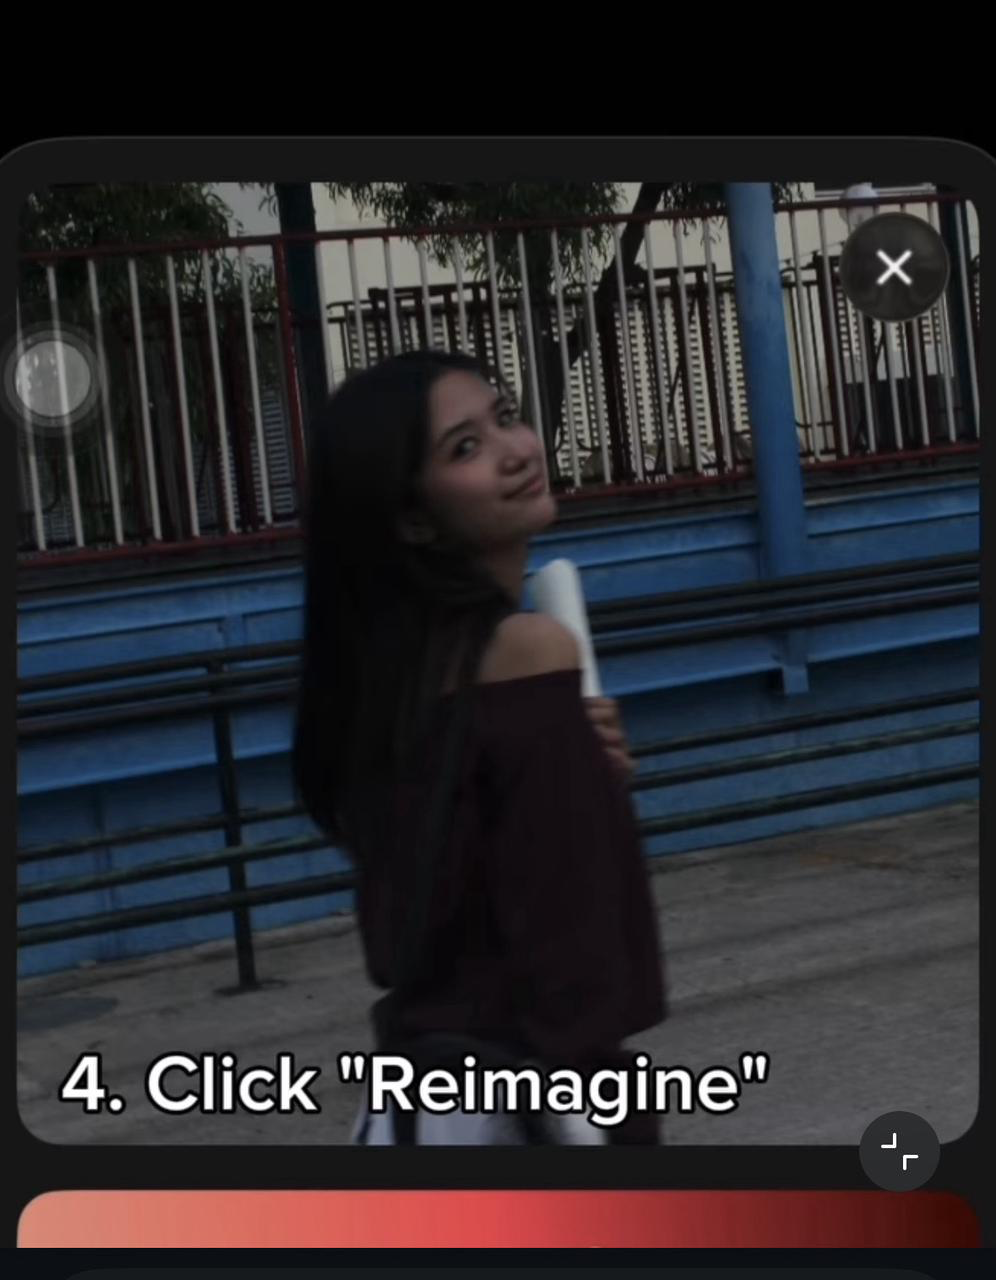
Step 5 — Wait for Your Result
Give WayShot a moment to process the image.When the finished photo appears, compare it with the original.Don’t just ask whether it looks “more retro.” Ask whether the new version actually suits the moment.Does the stronger color make the photo feel more alive?Does the texture add character without distracting from the people?Does the flash-heavy look make sense for the setting?Would you post this version without opening another editing app?If the answer is yes, you’re done.

Review the processed result and compare it with the original before saving or sharing.
What Does DigiCam Actually Change?
The easiest way to understand DigiCam is to look at a real before-and-after.In the original photo, the colors are more restrained and the overall image feels closer to a standard phone photo.After DigiCam, the visual direction becomes much more obvious. The color feels stronger, the image has more texture, and the photo takes on more of that slightly nostalgic digital-camera character.What makes the difference interesting is not simply that the image becomes “more edited.”It becomes more specific.That can matter a lot for Instagram or creator content. A technically good photo can still feel forgettable if the visual mood is unclear. A stronger aesthetic direction can make the same moment feel more intentional without requiring a full editing session.For creators, influencers, or anyone who posts casual lifestyle photos, that can be enough to turn a camera-roll image into something that feels ready to share.
When DigiCam Works Best
DigiCam makes the most sense when you actually want the camera effect to be visible.Try it for:
- birthday dinners;
- late-night restaurant photos;
- rooftop parties;
- nights out with friends;
- direct-flash portraits;
- casual Y2K-inspired posts;
- vacation photos that you want to feel more nostalgic;
- everyday pictures that feel a little too polished or neutral.
It’s less about making a photo technically perfect and more about giving it personality.If you’re looking for a very clean portrait, subtle daylight treatment, or detailed manual control, another Style—or a full editing app—may make more sense.
Why a Simple Workflow Matters
There are plenty of photo apps built around giving you more control.That can be useful when you enjoy editing.But not everyone wants to spend ten minutes adjusting every photo before posting it.WayShot keeps the creative decision much simpler:Choose the look you want → upload the photo → Reimagine → review the result.That makes it a useful option if you want your iPhone photos to feel more aesthetic or more camera-like without learning a full photo editor first.The simplicity is also useful when you’re processing everyday content. A dinner photo, a travel picture, or a casual photo with friends usually doesn’t need a complicated production workflow. Sometimes you just want the photo to have more character and move on.Just the photo you already have and a Style that gives it a different direction.
Final Take
WayShot is easy to use because there isn’t much to learn before you can see a result.Open the app, choose a Style, upload your photo, tap Reimagine, and wait.For night-outs, birthday dinners, friends, travel memories, and Y2K-inspired Instagram posts, DigiCam is a simple way to give an ordinary iPhone photo more color, texture, and digital-camera character without turning it into a full editing project.If you like the photo but wish it felt a little less like a standard smartphone shot, that’s exactly the kind of moment to try it.